11.08.2023
13.08.2023
16.08.2023
18.08.2023
19.08.2023
20.08.2023
24.08.2023
03.09.2023
14.09.2023
This project journal was originally on DoA and was copied over more-or-less 1-to-1.
References to comments and emoji codes have largely been left in, spoilers have been taken out.
11. August 2023 - arrival + cleanup
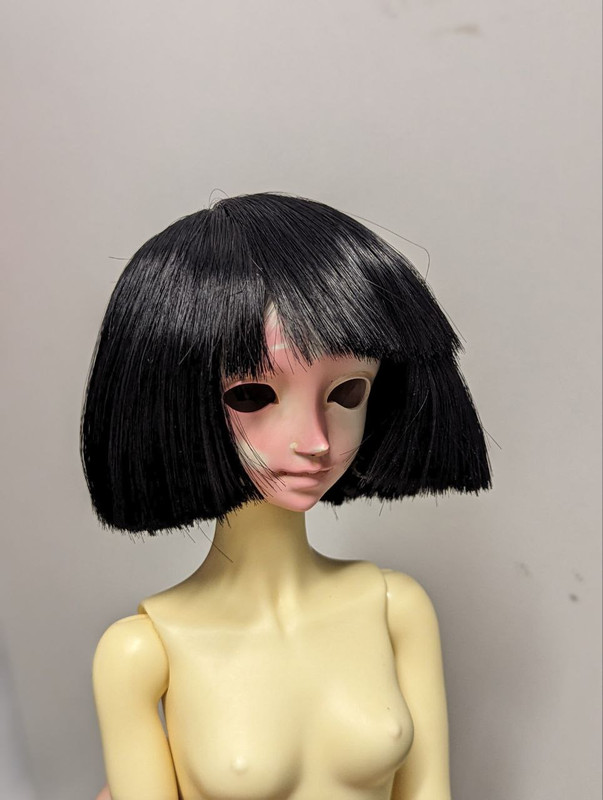
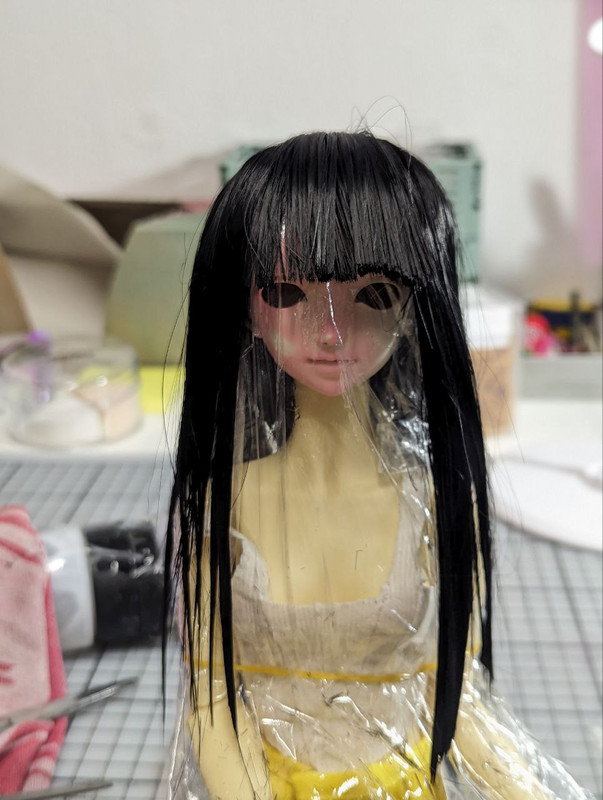
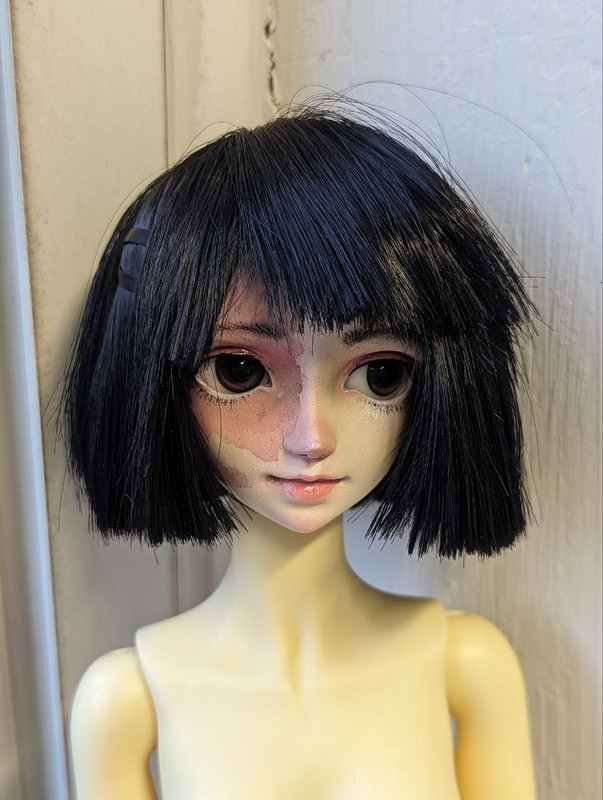
I saw a Dollzone Shoyo at a local online marketplace earlier this week for a very small price and, of course, instantly jumped on her (perhaps she'll ease my wait for the new dollzone doll I have incoming hahaa)*. Shoyo used to be such a popular sculpt and someone I knew in my teens had one so I also blame the nostalgic feelings. She arrived today! And she also needs a major fix-up! :sweat

She's... surely seen things. No idea what is going on with the face, and she was a little dirty.

"NO PHOTOS!"
Sorry :sweat

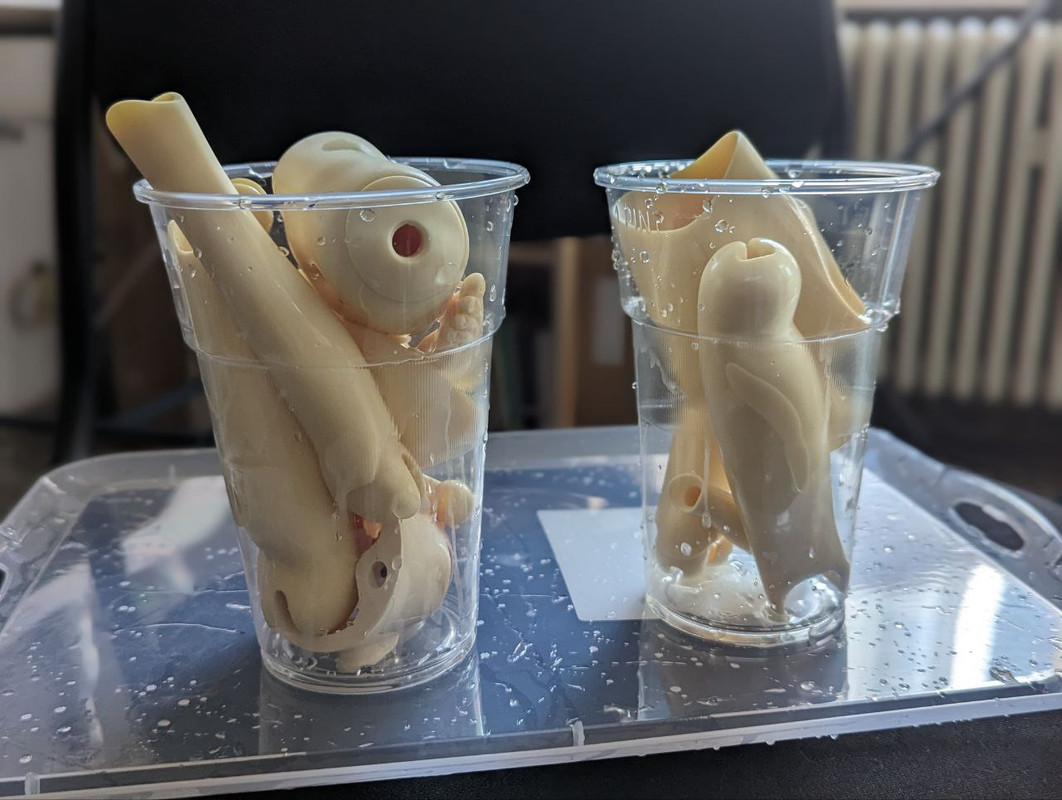
Step 1 - bath time. The cup is full of left-side limbs so I don't end up mixing them up. Aside from yellowing and a few easy-to-remove stains the body's in great condition and didn't need much to clean right up.
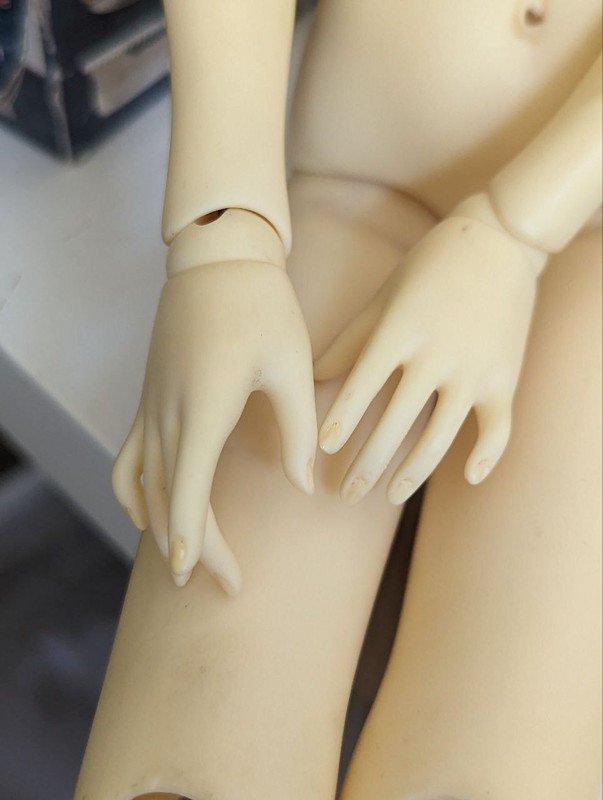
really love her hands!
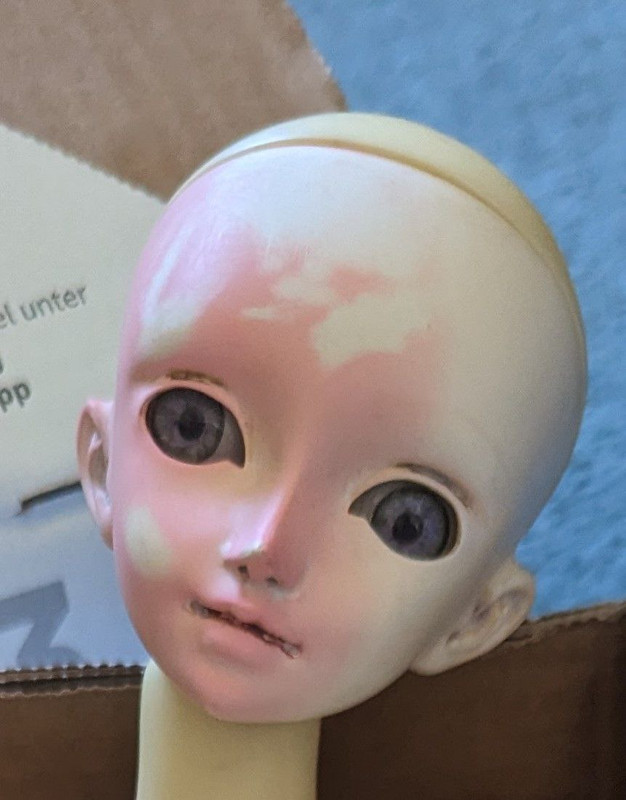
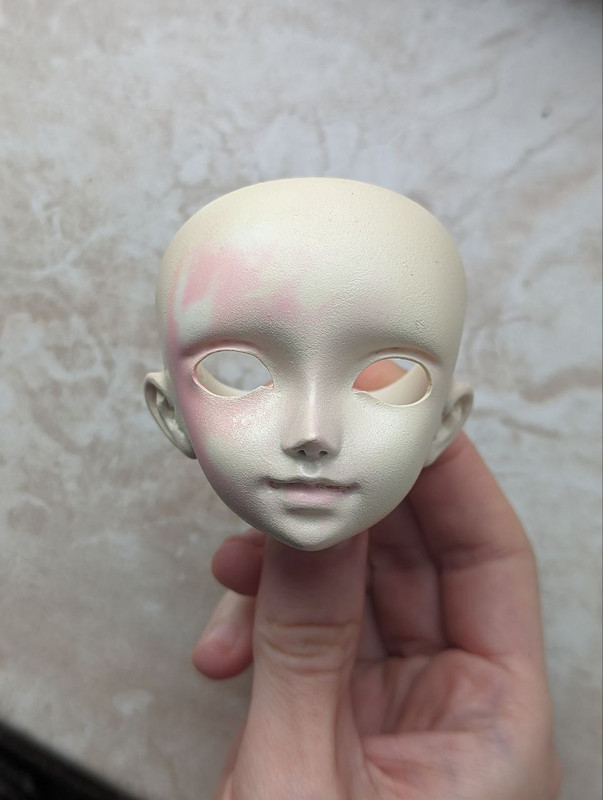
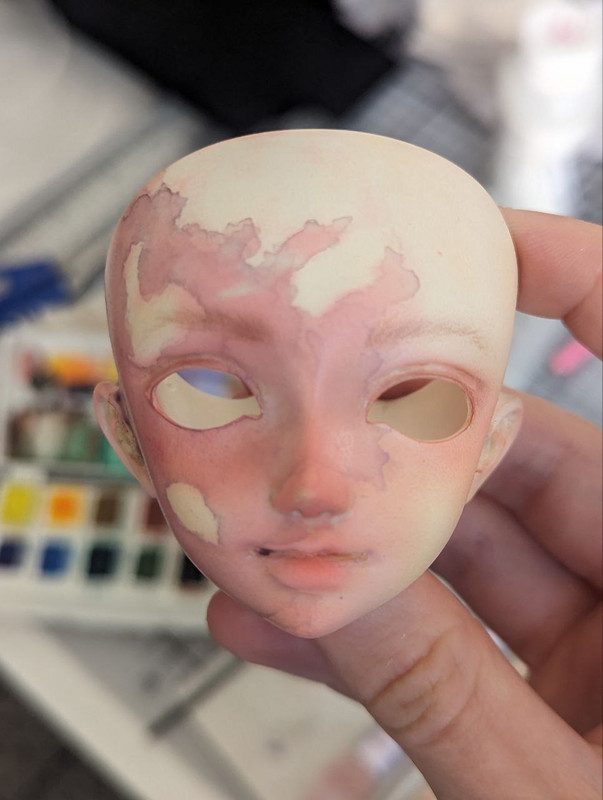
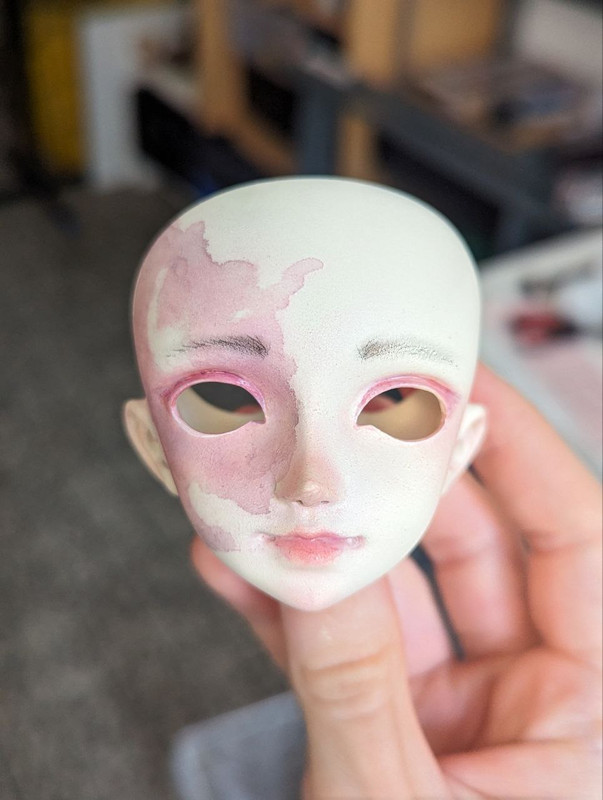
Step 2 - the face. I am not quite sure if she either used to be white skin OR the head has been painted white at some point (check the spoilers underneath for a better colour comparison of head and body), some dye job certainly has happened as the port wine stain birthmark also continues inside. Some residue of faceups past obviously and I guess some small patches might have been sanded.
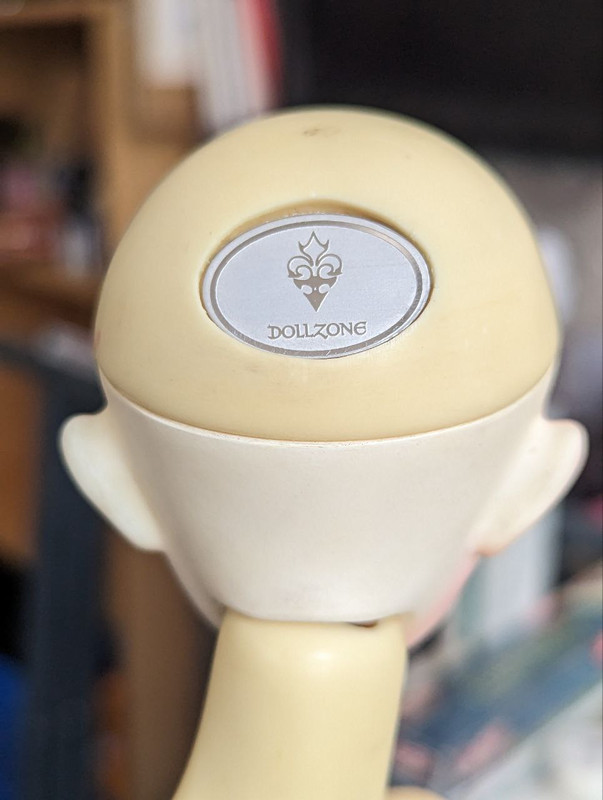
"headcap-back of head-neck
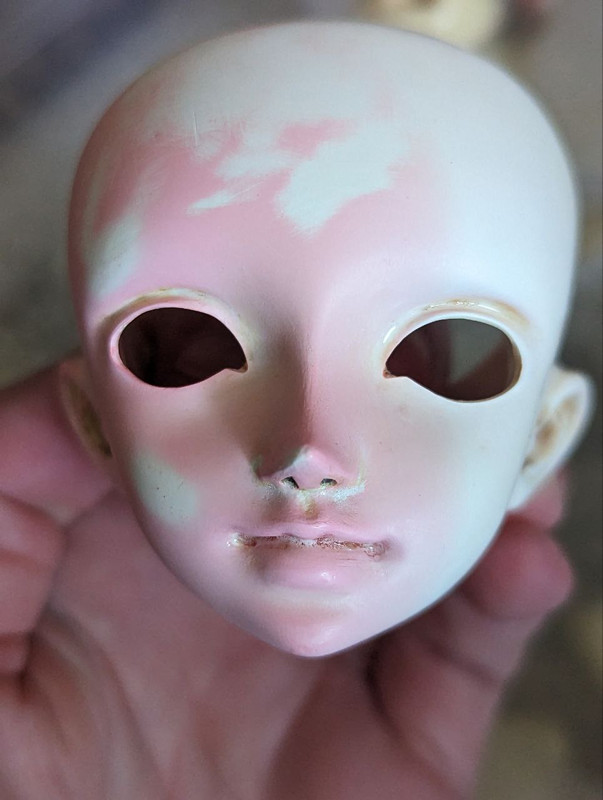
This is all I managed to get off with a lot of scrubbing with acetone. The black nose holes are not getting clean, neither do some bits inside of the ears*_*
I guess I could clean her up further by sanding, but I love my lungs and don't have a space to do that so I will figure out a cover-up instead. I'd like to keep her history on her so a version of the skin discolouration will probably be a part of the faceup, we'll see!
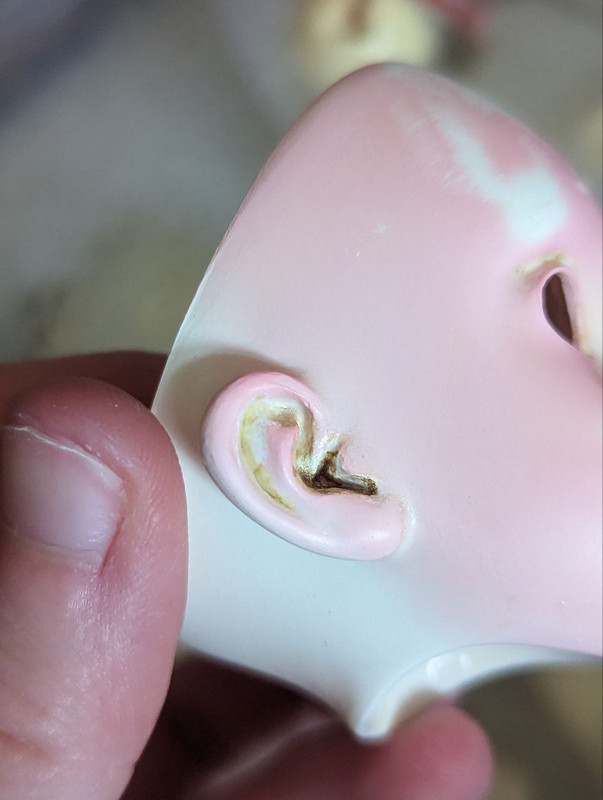
ear gunk that also won't budge
I'm done for today so cocktail hour it is :cool:
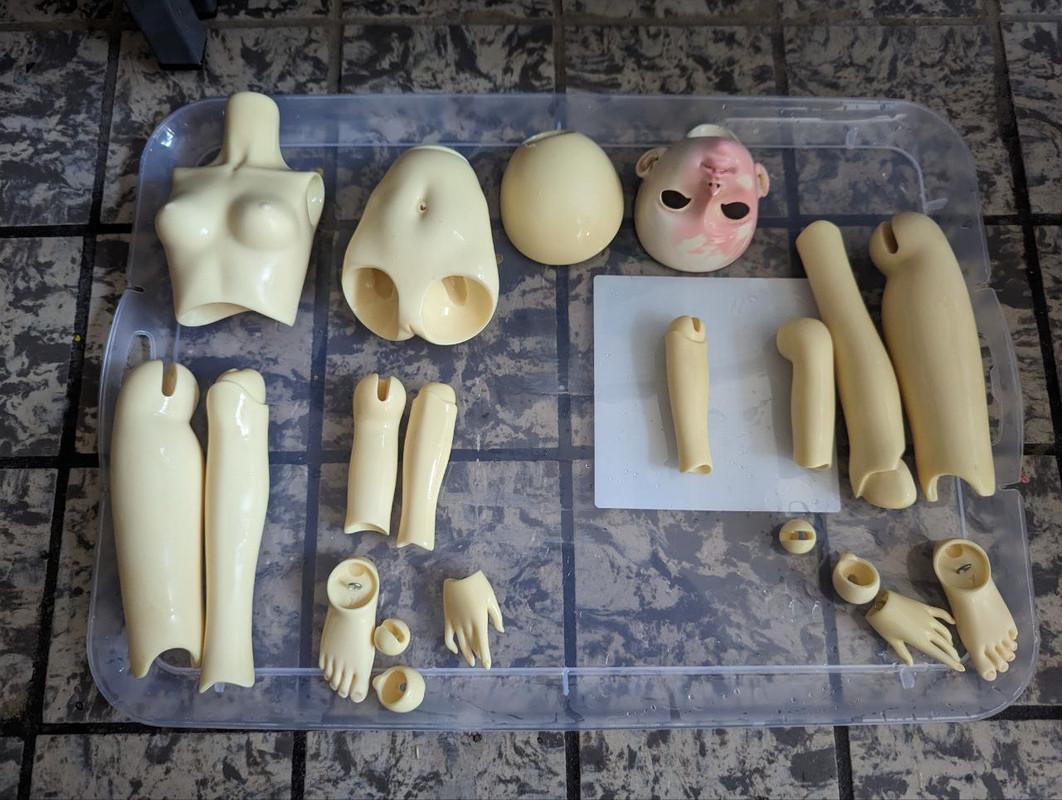
The bits so far, drying off.
Next up: restringing, wig, faceup, clothing.
*07.04.2026 note: the "new dollzone doll" never came because BJD*vas discovered it was not in a good condition before shipping it to me. I am thankful I just got a refund and case closed, as I only got to reading the service reviews after and I guess not everyone has been that lucky with them.
Back to top
13. August 2023 - restringing and sueding
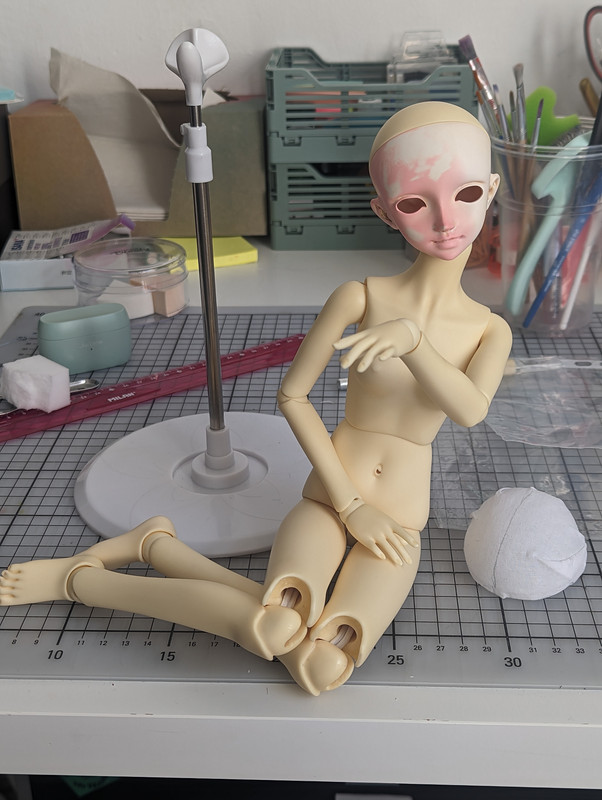
Clean, restrung, hot glue sueded, posing effortlessly as if it didn't take me 5-7 tries to get the stringing right (the 2-part engineering of feet/ankles and hands/wrists has been absolutely sending me).
I also made a wig cap and am now waiting for new eyes, some hair wefts and a few extra face up materials to come in next week to move forward.
Back to top
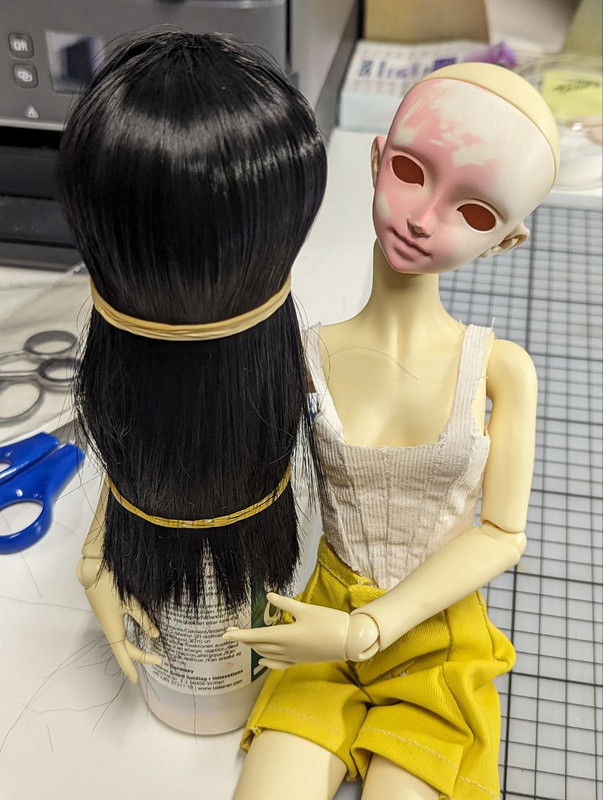
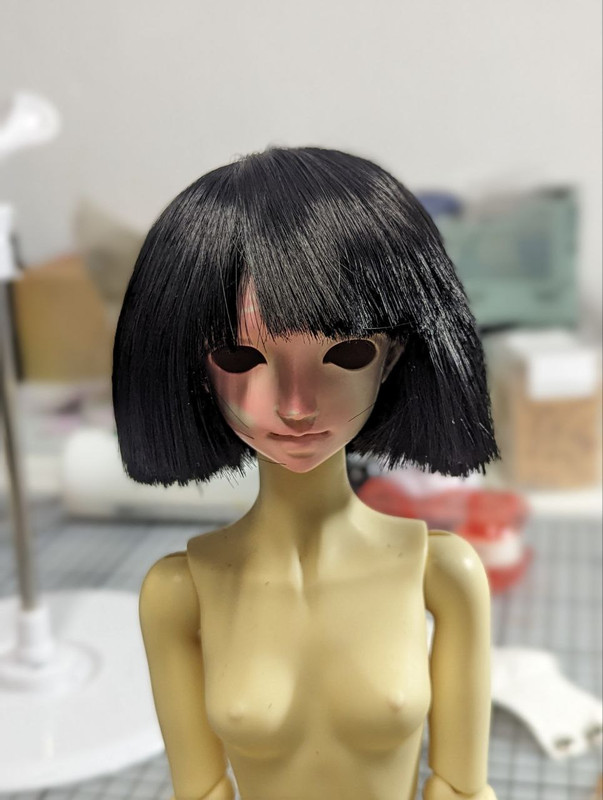
16. August 2023 - wig!
Ladies and gentledolls, we have a wig! It is a tad too poofy, I think I sewed the wefts too close to each other to avoid having the wigcap show (silly me, using white fabric for a planned black wig...), but it is what it is. It still needs a little bit more work with styling and cutting some stray hairs I missed last night but that's the result for now:
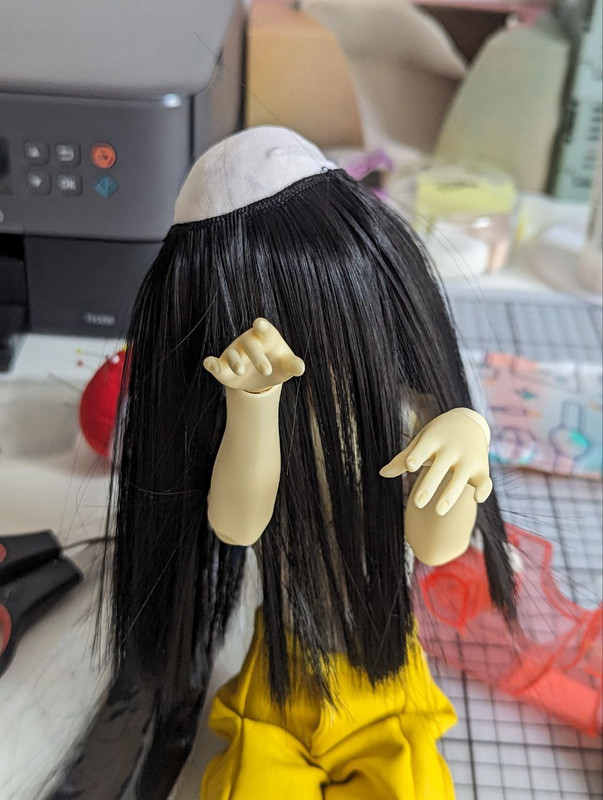
This is around 50% of the hair attached.
oop, bald spot.
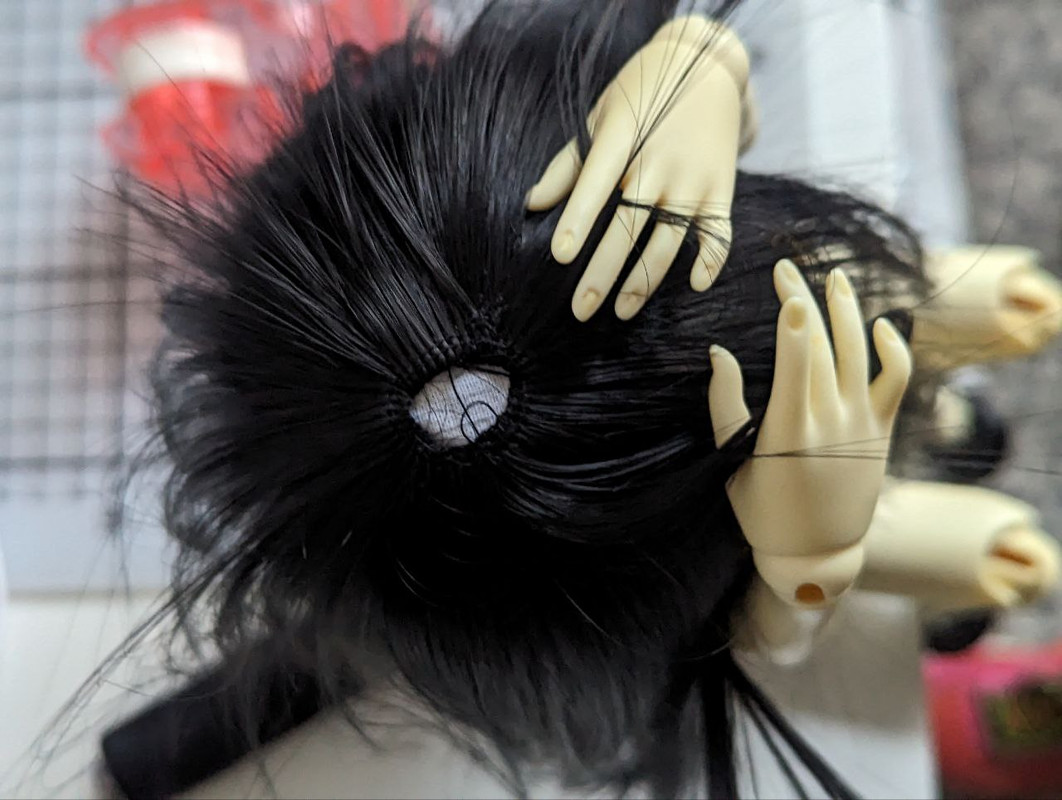
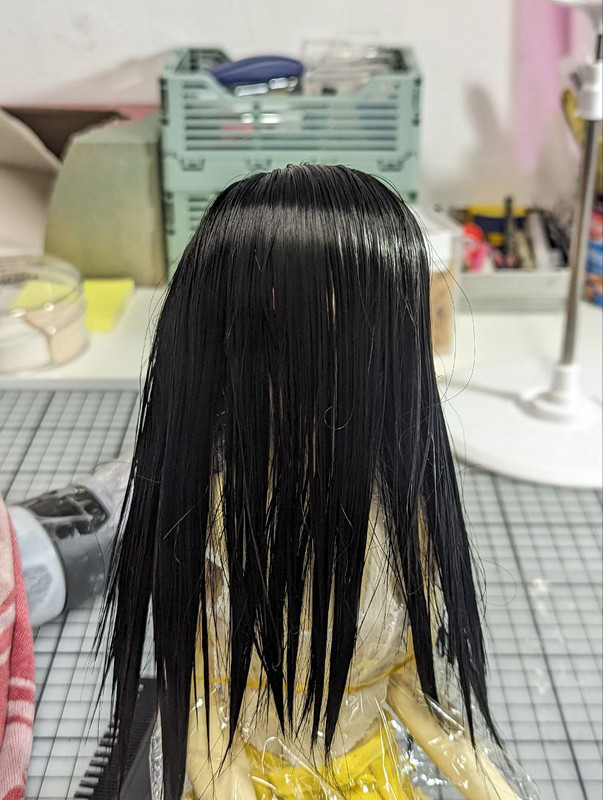
Annnnd all hair is attached, and in desperate need of a boil wash to pin things down.
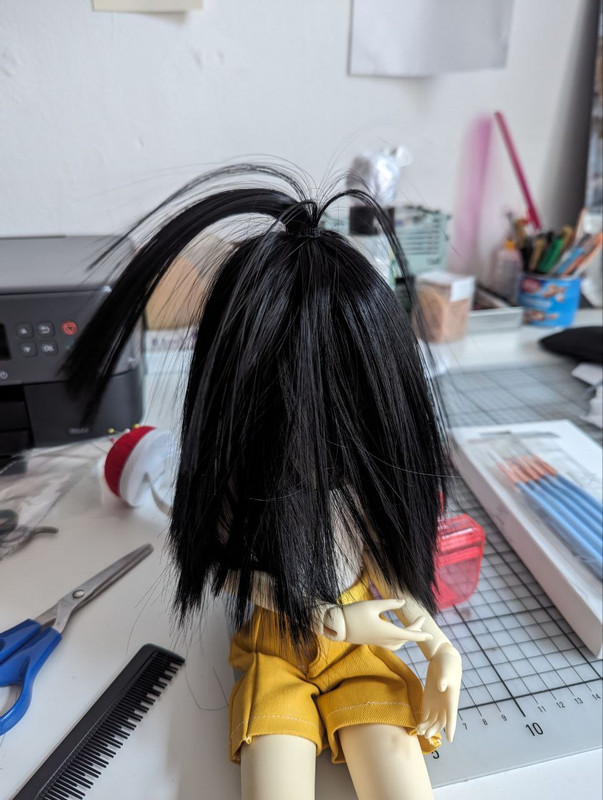
I pushed the "palm tree" as flat as I could and held it down with some elastics while pouring freshly boiled water on it from the kettle to keep it that way. I used a makeshift wig stand for that (ball of paper wrapped in packing tape, attached to a near-empty bottle of matte medium). After removing the elastics, I did another pour to remove the umm... involuntary hair styling they left behind. Also realised I had to quickly suede the head/neck joint because I can't cut the wig on a head slipping sideways like that.
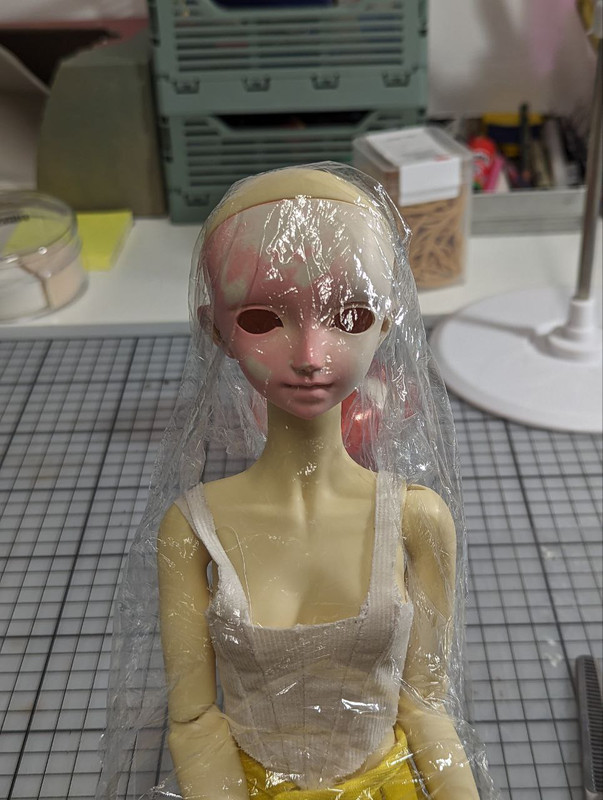
All wrapped up and nowhere to go (for the cut hair bits, but also for protection from the slight residue of glue from the wet wig cap).
*splat*
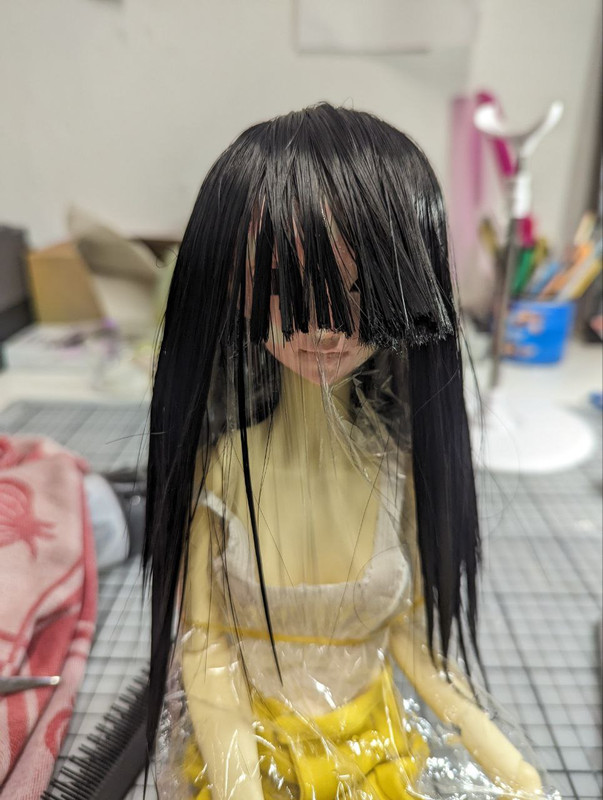
First rough cut.
And some cuts later, a much better length to live with.

I had already cut too much of the hair short when I realised a half-short-half-long thing would look really cool... welp, too late now. Also, everything is very stiff and pin-straight. The clothes are off for the ease of cleaning up endless little black hairs.
This was after the first pass with a straightening iron to get the hair to look a little more normal... honestly, how did I never get this idea before, I'm gonna have to go and fix all my wigs now. Human-size heat tools are obviously too clunky to be properly used with a 1/4 wig, but helpful enough to get it to sit a little more naturally so I'm going to do a few more passes with it and see where I can get with it.
Edit: her eyes came earlier than expected so I have to share. So much better than the way-too-big acrylics she came with!
Back to top
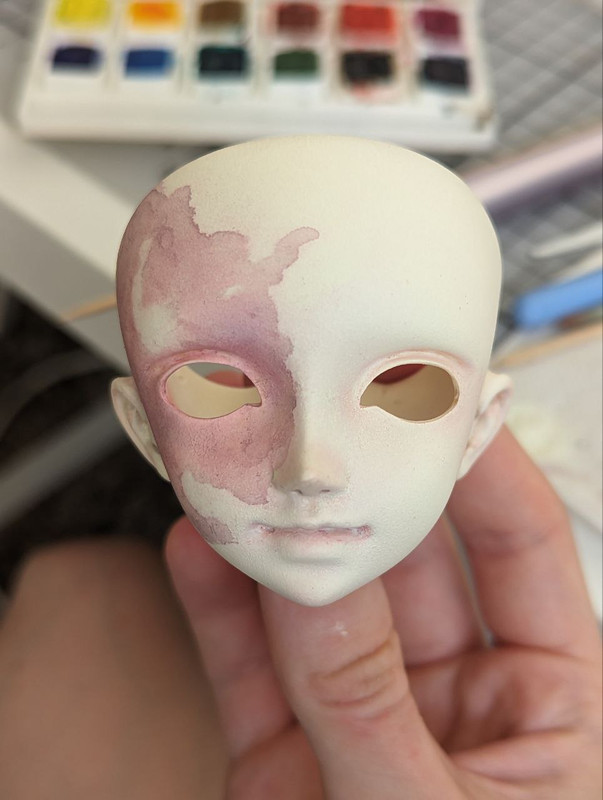
18. August 2023 - colour matching fail
I tried so hard and got so far and in the end, I had to wipe it all off again. I guess it's also fair to document the failed bits, though.
I tried using gouache to lessen the pink a bit but it ended up getting really sticky and never drying. Nope, next.
I then thought I'd really embrace the "birthmark" and make it even more intense. I guess not a bad idea after all.
Unfortunately, I started trying new things out... Gouache didn't dry properly also in smaller amounts so yeah... wiping it off it is.
I think I'll switch to acrylics instead and wait for less humid & hot weather. Here's where we are back at:
Back to top
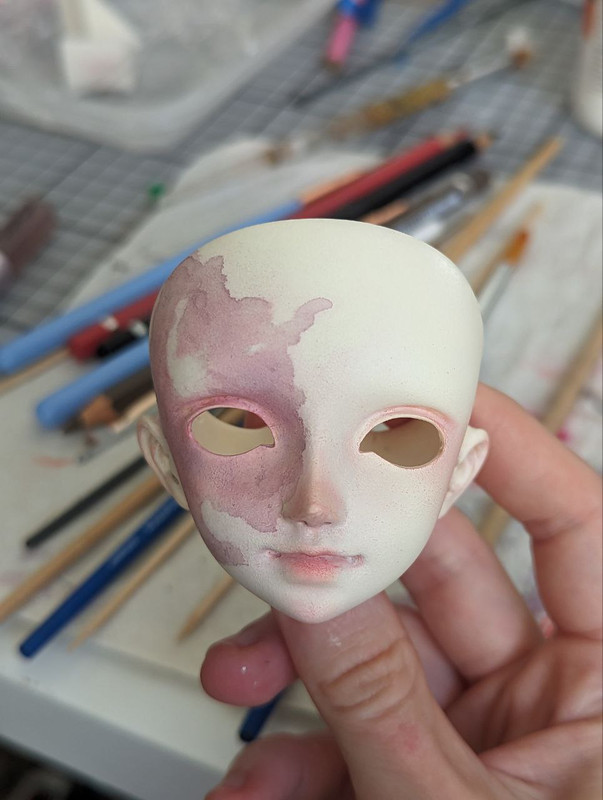
19. August 2023 - colour matching win!
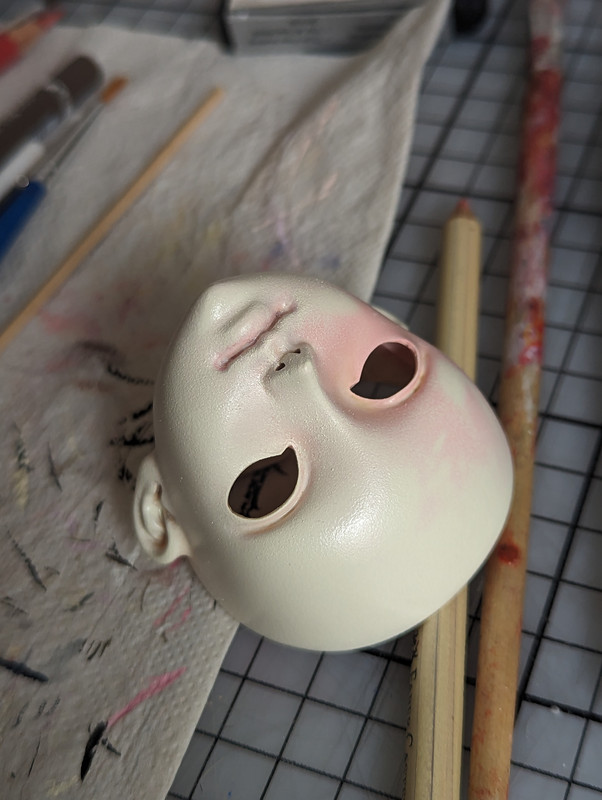
Great success with super thin acrylic and a makeup sponge! Looks like it's drying well so far, I'll leave it overnight and see if I can continue tomorrow. I left a bit of pink for a birthmark, otherwise it covers well.
Back to top
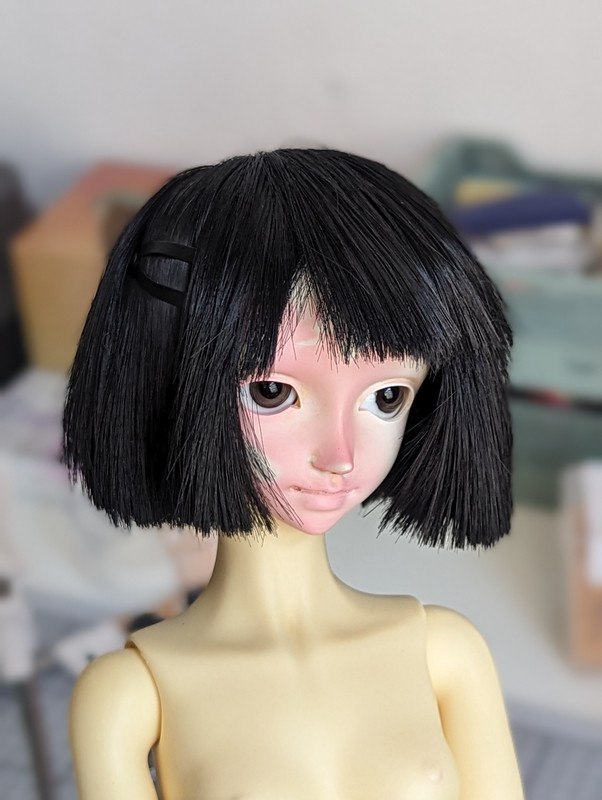
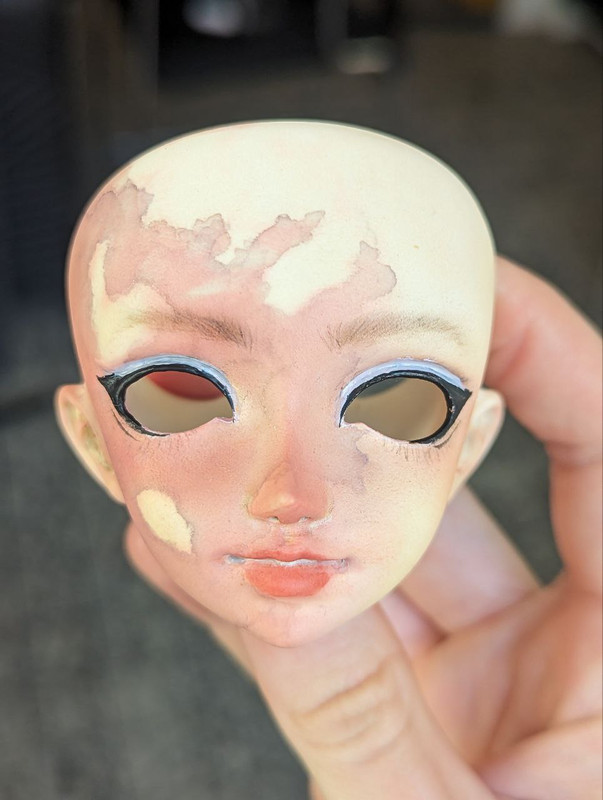
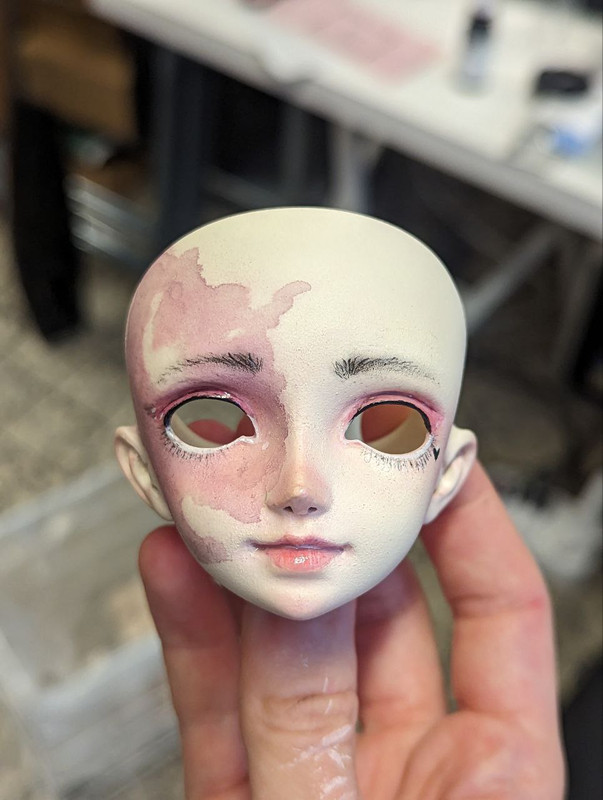
20. August 2023 - faceup, finally
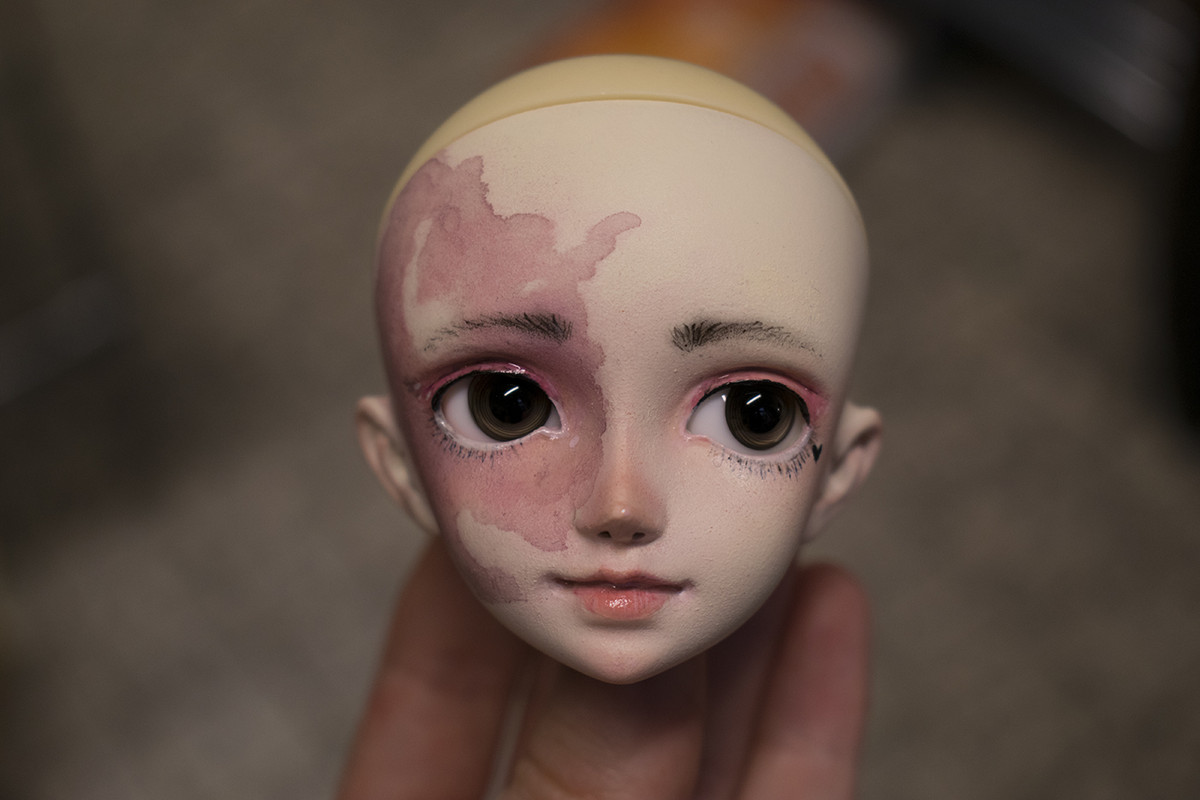
This faceup has surely taken years off my life - among all I'm not satisfied with the lashes, eyeliner and brow hairs, but that's purely only my fault. The layers of acrylic made the texture pretty different from what I'm used to, so I had a lot of trouble with getting pastels to stick properly, too. It's a little blotchy all around but I'm happier with having this for now than wiping it again. Obviously, the body and face don't match colour-wise, but I didn't even try so that's that :sweat I'm normally not a huge fan of adding upper lashes, but with her big eyes I might get to it sometime later. ANYWAY. Process pics below.
From this to that:
We start off with the birthmark - I quite liked the watercolour bit from the last try so I went for it again, but decided to do it before blushing.
I don't know what to blame but the head was attracting dust today like I've never witnessed before! I was constantly picking out little bits, it was neverending. It might have been the different texture from the acrylic or the new kind of makeup sponges I was using for the sealant, who knows. I feel like the pastels were also not sticking like normally so it took quite a few layers of sealant to get them to... do something.
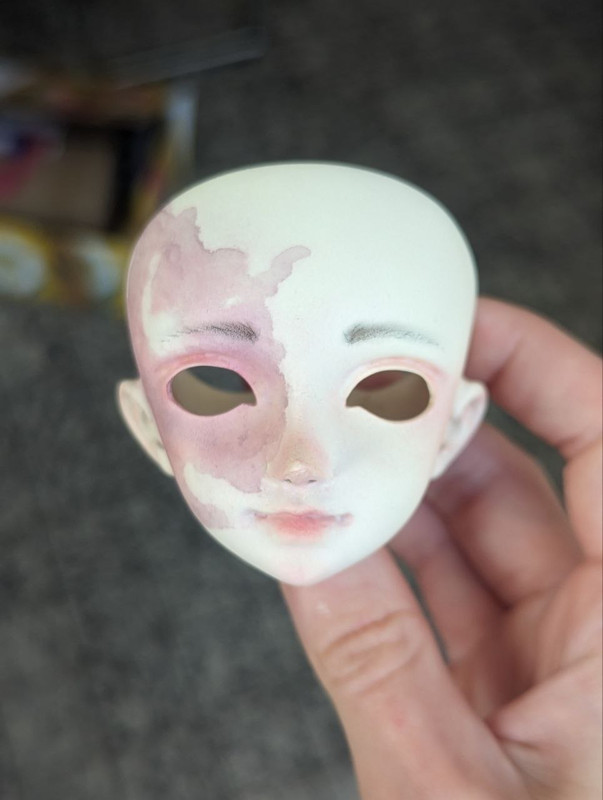
Hi brows!
Mistakes were made with the eyelids. Blotchy and weird, I think I should have thought this one through before taking the brush to the face.
The lash situation did not go well and I don't have progress shots of trying to frantically get it to look better, but this is where we got through a lot of sweat and swearing. The little black heart is nothing but me covering a big mishap and there was a bit of cheating with "concealer" on top of all the layers, too (thank you past me for covering the head in matching acrylic yesterday)... A positive bit, though; I was surprised to find space for painting teeth and she has a nice smile now :)
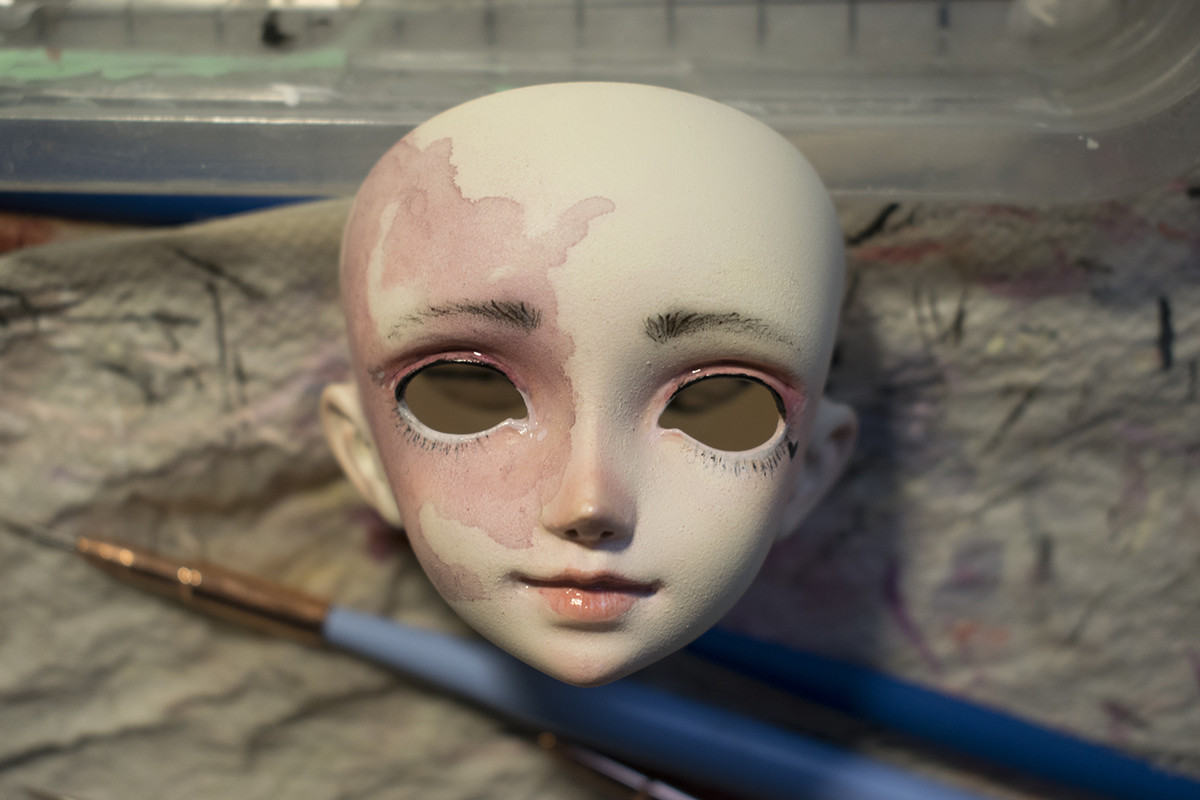
My phone goes bananas overly sharpening things so here's a photo from the dslr that shows in a little more true light,
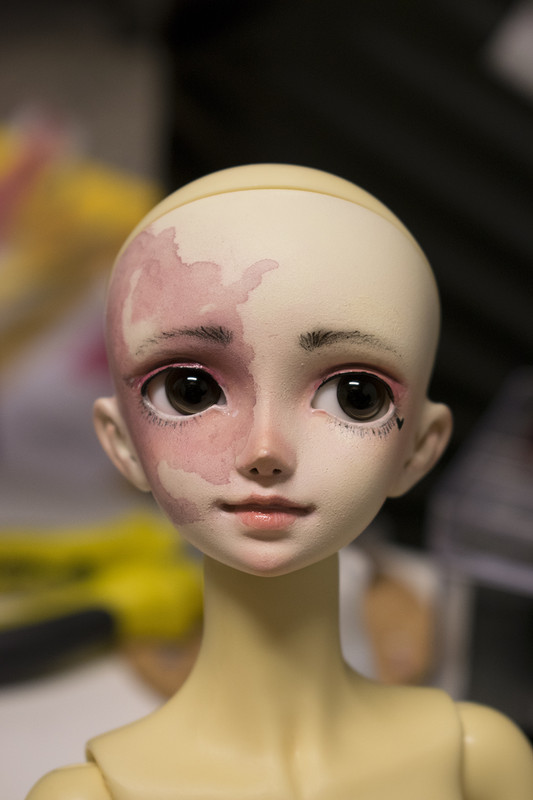
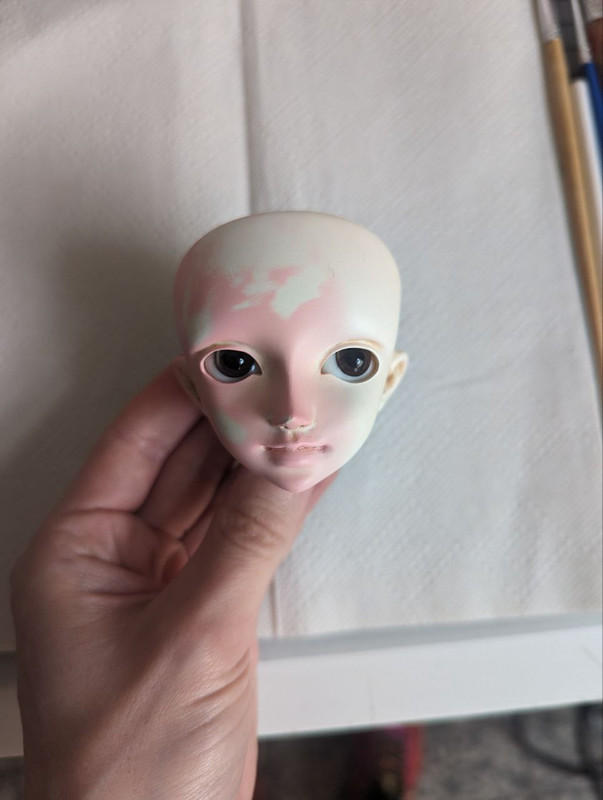
Back on the body and nothing matches! But it's okay because she's not the only doll I have with a poor head to body tone ratio haha
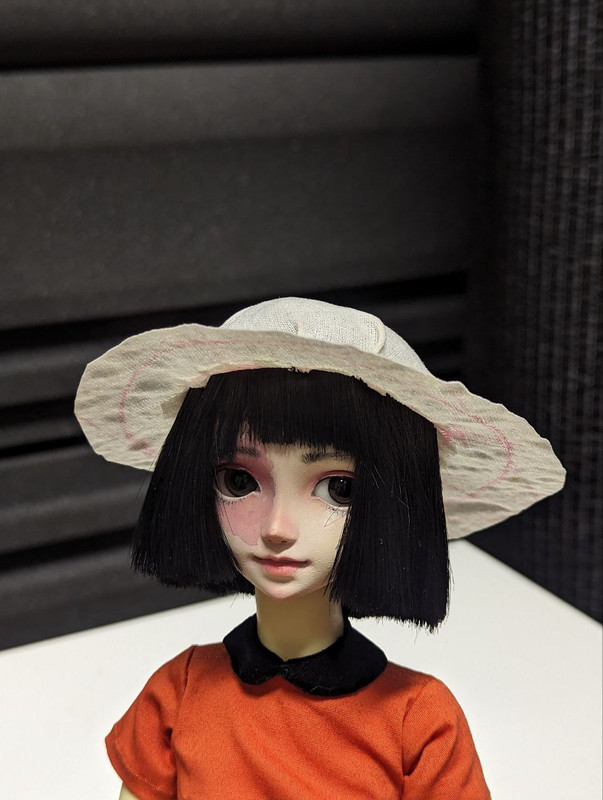
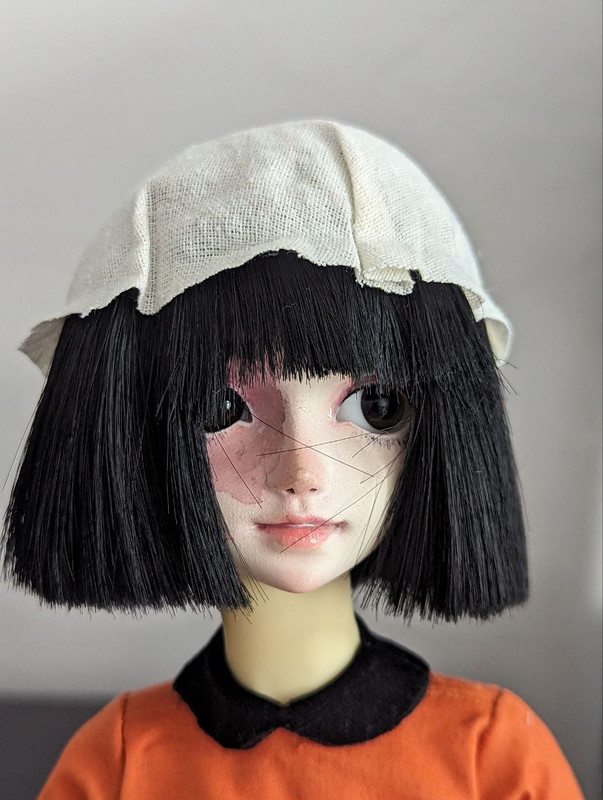
And with the wig, that conceals some of my hot mess. She *is* becoming quite a cutie as things go along.
Thank you for following along! I'm going to put my faceup materials away for a bit and figure out an outfit for her next :)
Back to top
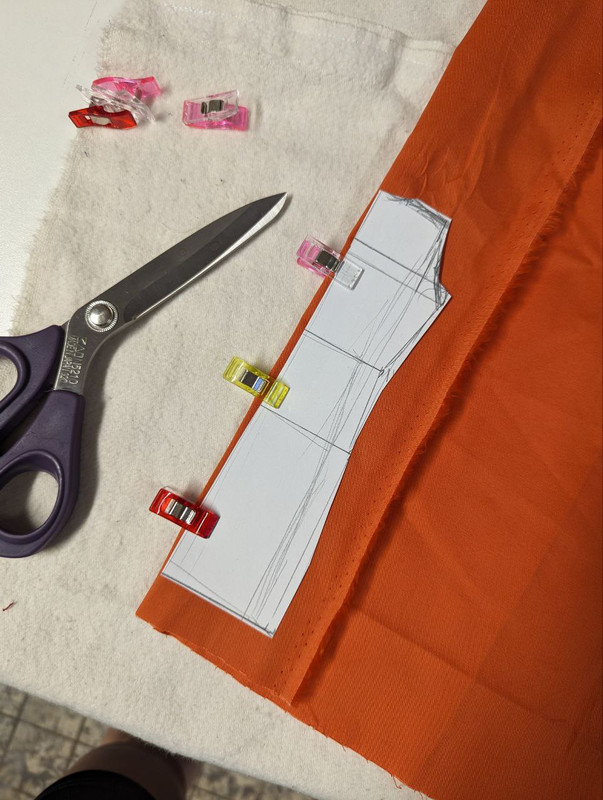
24. August 2023 - clothes!
I've been chugging away at an outfit for her, something simple and classical, but not too serious. Kind of like something a young Studio Ghibli character would wear? I'd like to add a sunhat and some details, but I'm still debating on colours and materials so I figured I'd share the progress so far.
Making of:
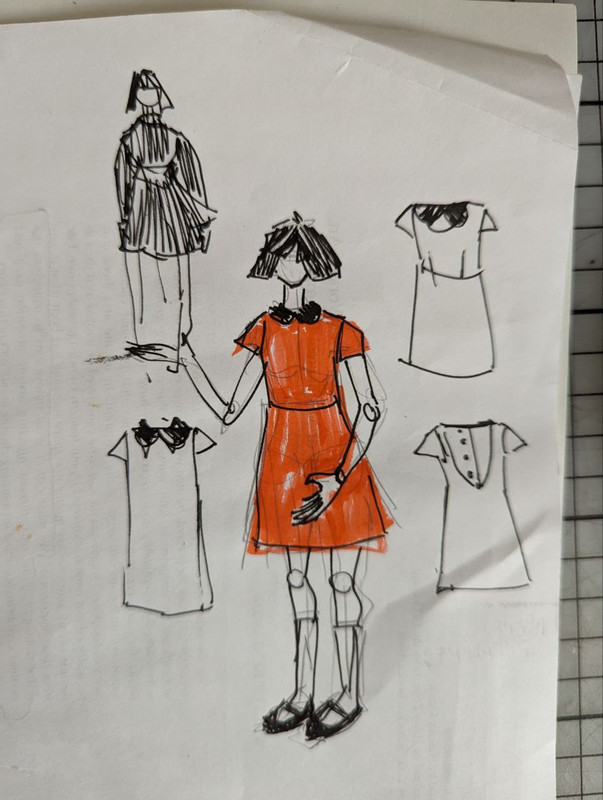
The initial plan, although I'm not so sure about the collar any more?
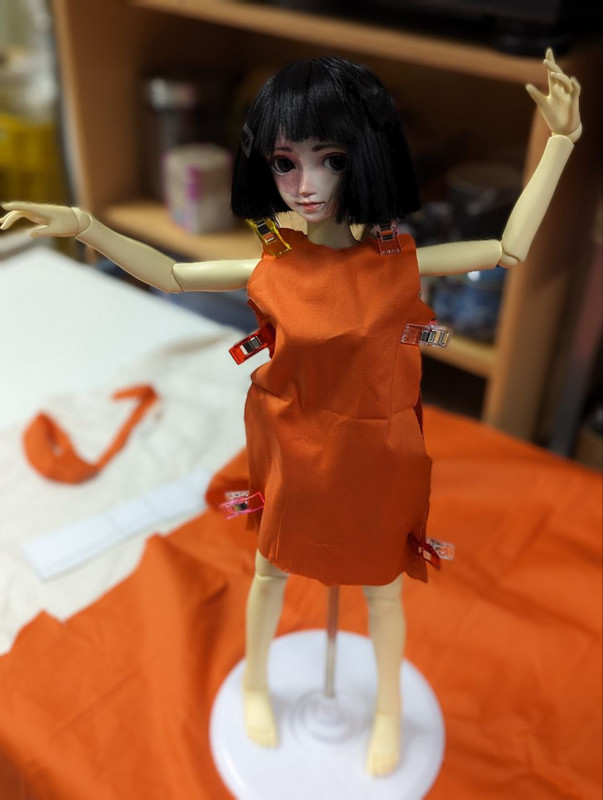
The first fitting...

...didn't end so well.

I had a bit of an error with breast darts so there is a long seam to fix the fit now. But it's not too bad! Just need to dress it up.
Back to top
03. September 2023 - hat!
Hat time!
or well... I have to make it again, but here're the steps nevertheless
HATTERY!
I figured that to make a sheer sunhat, I could make it the same way I make wig caps - glue and cheap scrap fabric! I used a tote bag for this.
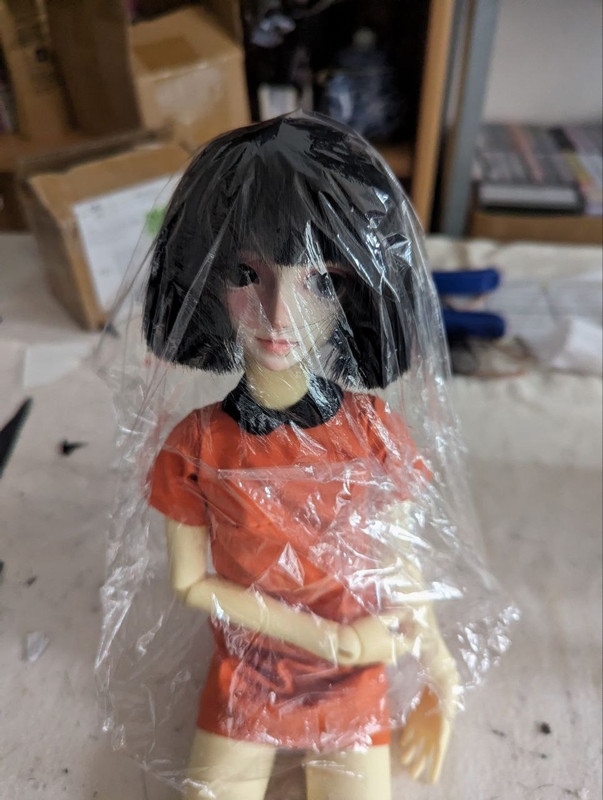
Cling wrap is my main friend in dolly business.
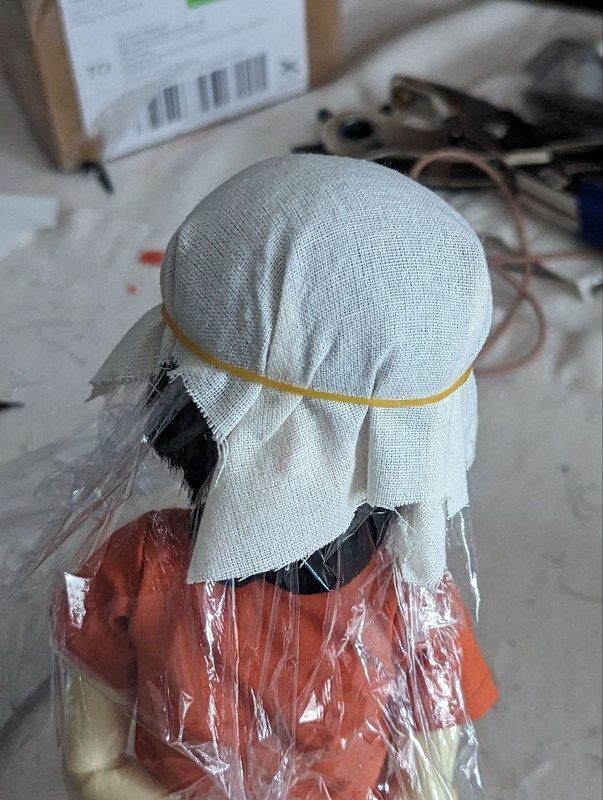
Elasticing it down

Patting on some glue with a completely destroyed brush!

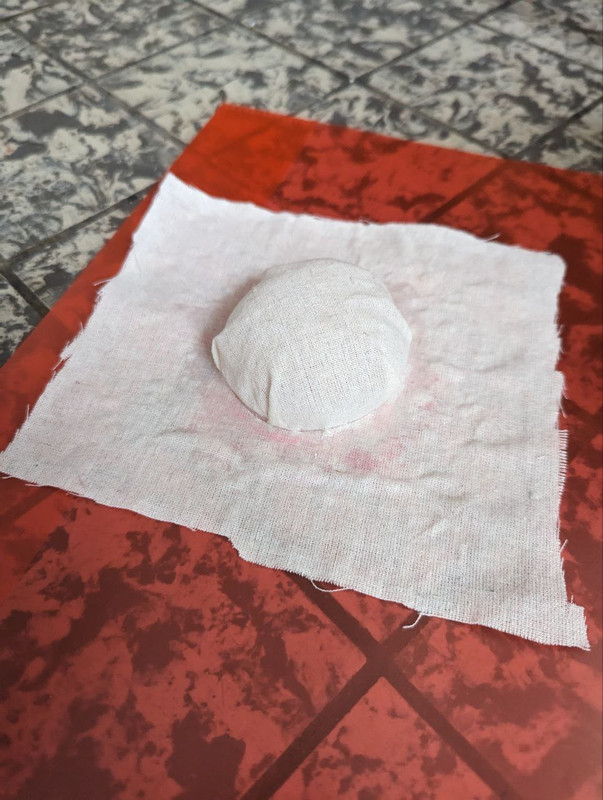
Cut out a sheet of fabric, laid it flat and glued it the same way and left everything to dry overnight.
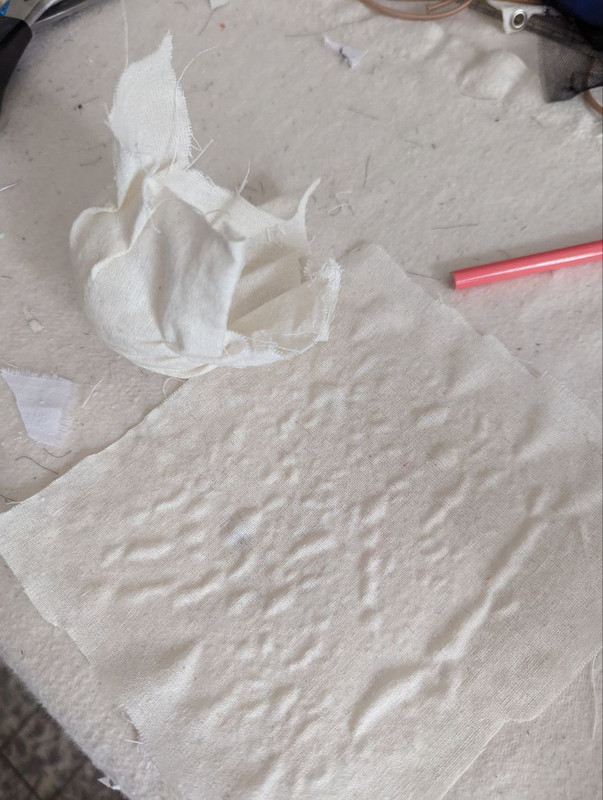
The harvest of the next day. ahhhh the bubbles -_-
Jotted down the size of the rim (using a coaster) and the size of the cap.
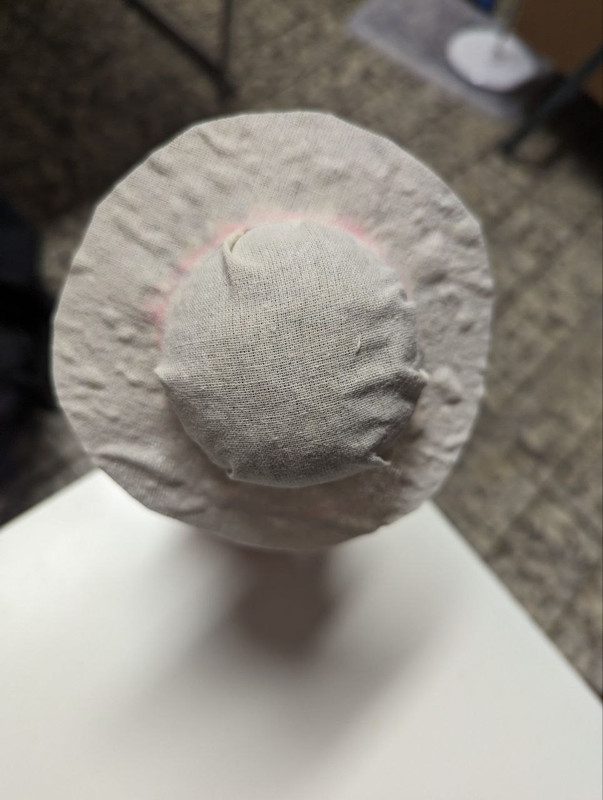
Trimmed the cap, left some un-gluey fabric to attach it to the rim
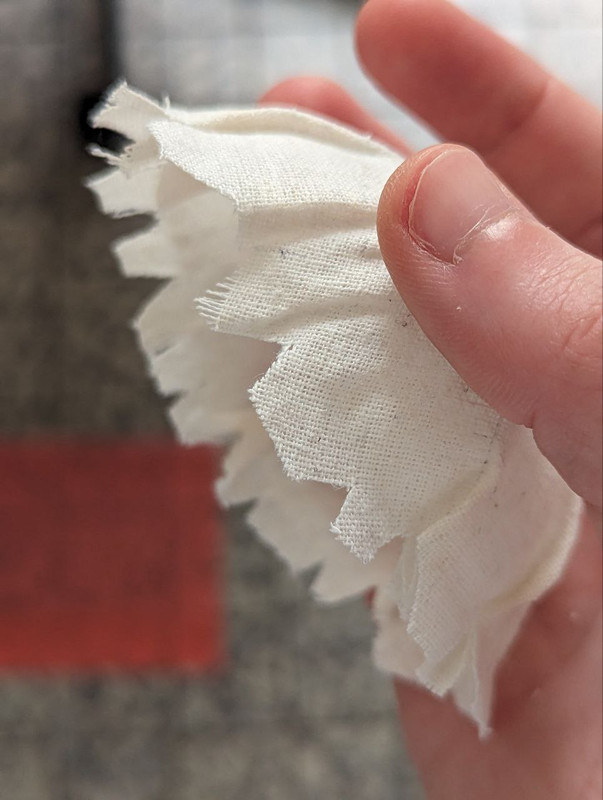
Slits so it fits
Cut a hole into the rim, checked the fit
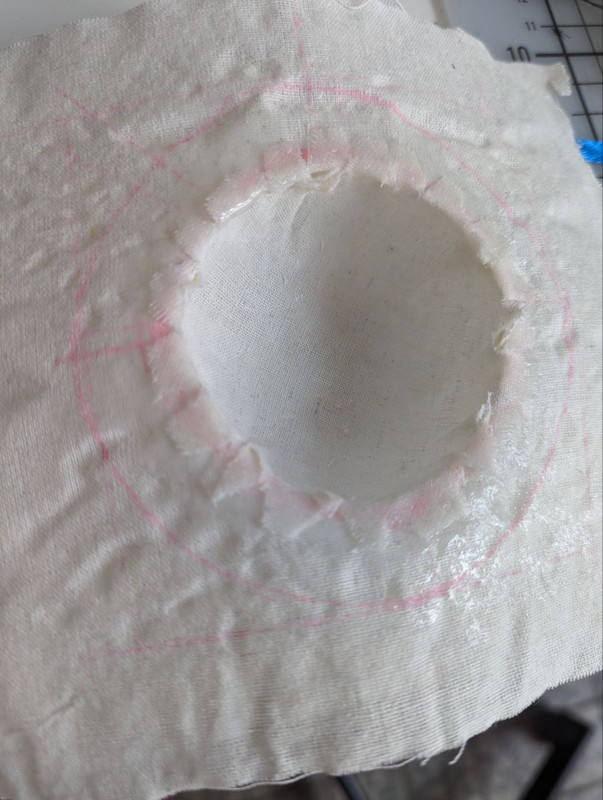
Glued it down using my fingers this time so everything was an absolute mess.
annnnd it's plopped to dry
more hattery!
Trimmed the rim? trim? I'm not good with hat terminology oops
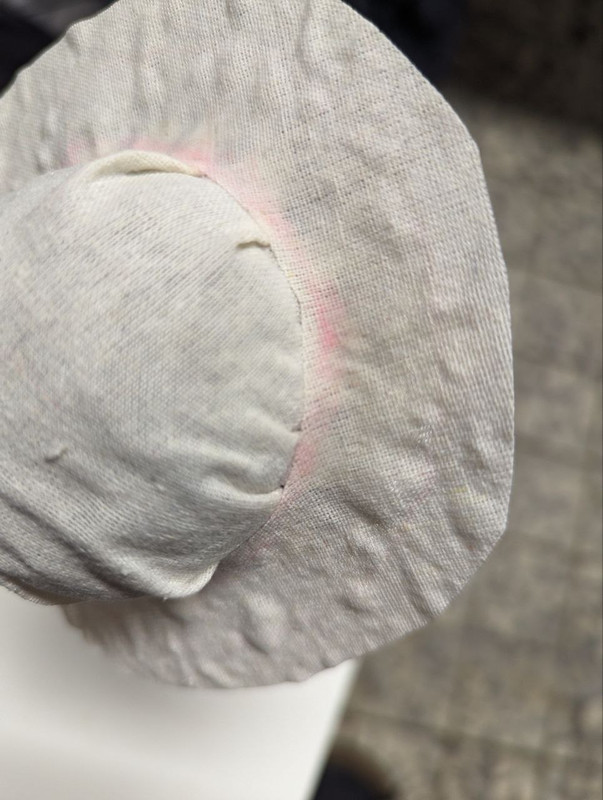
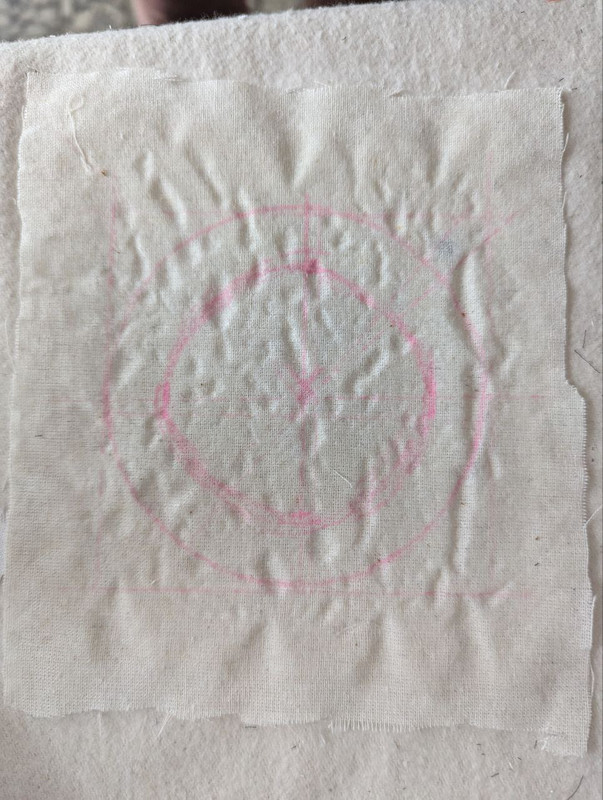
Whooo would have thunk it that the fabric pencil will dye the hat pink with glue involved? I sure didn't. I have to make another one and make better choices :doh

Hat on lap so one can see the scale better.
Overall, I like the texture and how thin and non-bulky it is, it fits really nicely, too. Definitely using this method again.
What I'm going to improve with the next edition:
*Getting rid of the bubbles
*sewing a cap to fit first (better seams than creases imo), then glue
*maybe make a bit bigger cap part so it squeezes the wig less into her face
*♥♥♥♥♥
I think once the hat is done, I'll add a few more knick-knacks and give her a proper photoshoot as a start to her new dolly life.♥
Back to top
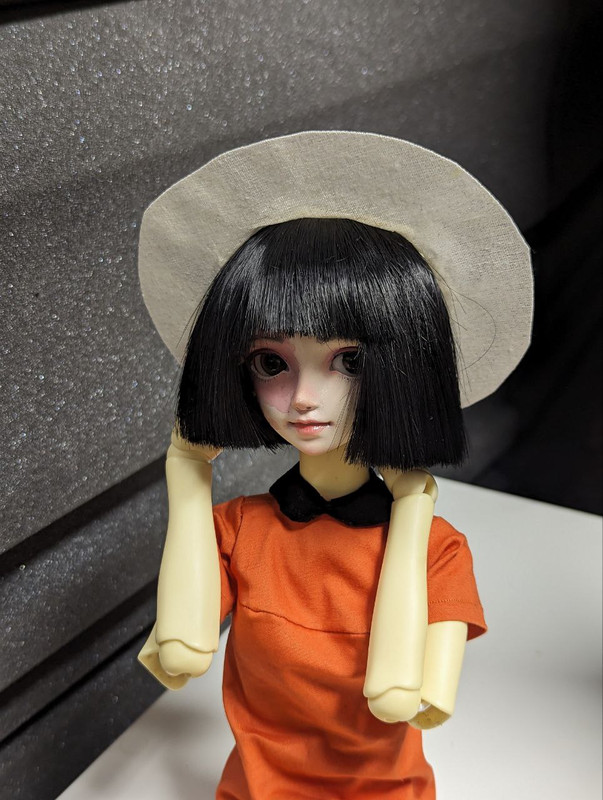
14. September 2023 -hat and clothes refined! Is she done? I guess so!
Have I misspelt TLC in the thread title? Yes, yes I have. It's "dolly love and care" now, I guess. Anyhow.
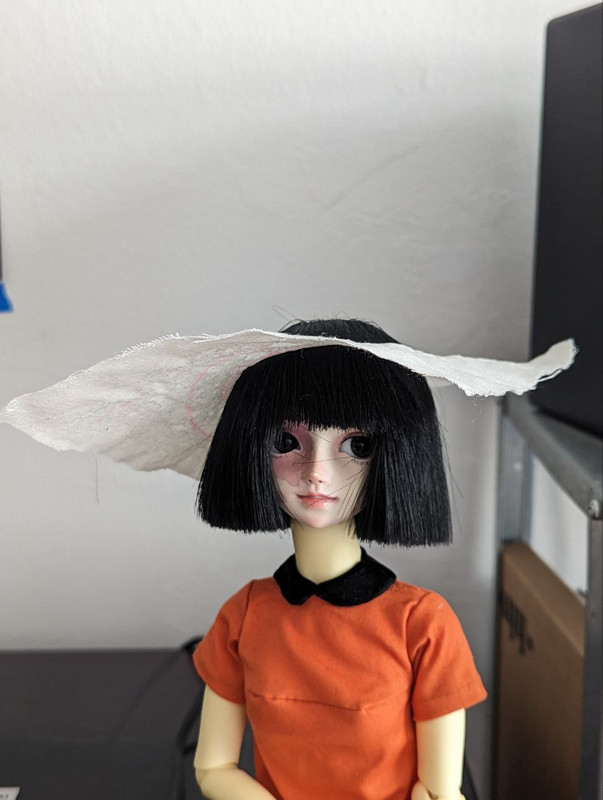
@Lillith's great tips on embroidery hoop and styro ball worked beautifully. Too bad that my local craft store didn't have a well-fitting ball in stock, though, so the smooth hat ended up a little too big. I had made another tryout on top of the wig prior, a little wrinkly but I don't really mind, at least it fits and has no pink stains! I think the hat completes the outfit nicely :) I was inspired by one of the Junichi Nakahara pattern version Volks SDGr Lorina sets I saw on Mandarake recently, but wanted to make something a little simpler and less mature, nevertheless the hat was a must.
Hatmaking
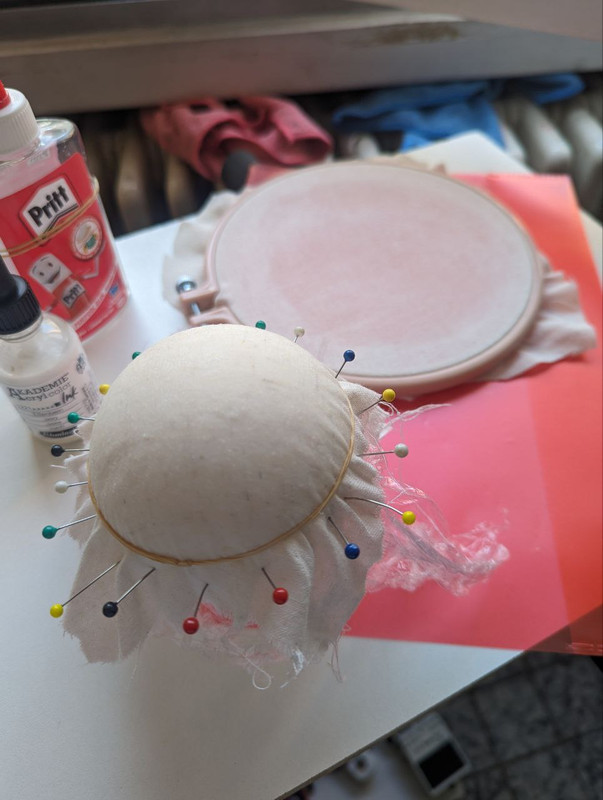
stretchy stretchy! (ignore the acrylic, it was not used on this)
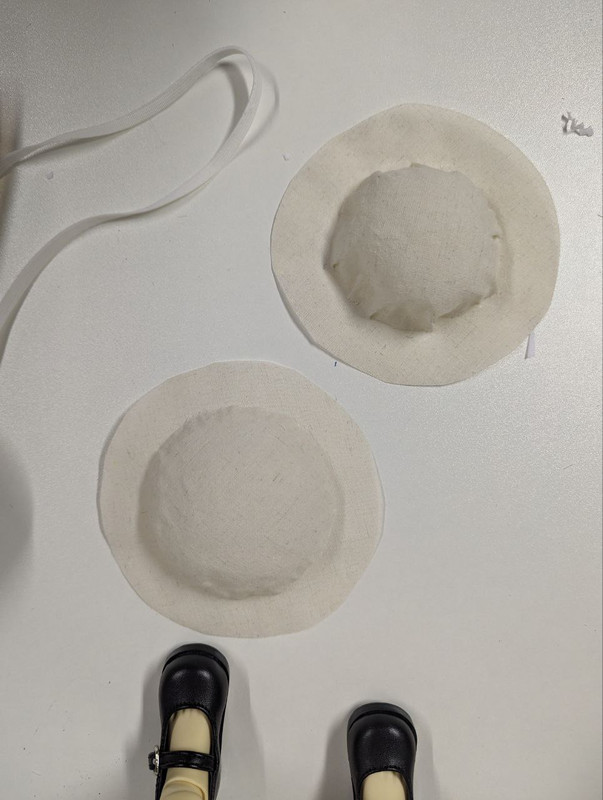
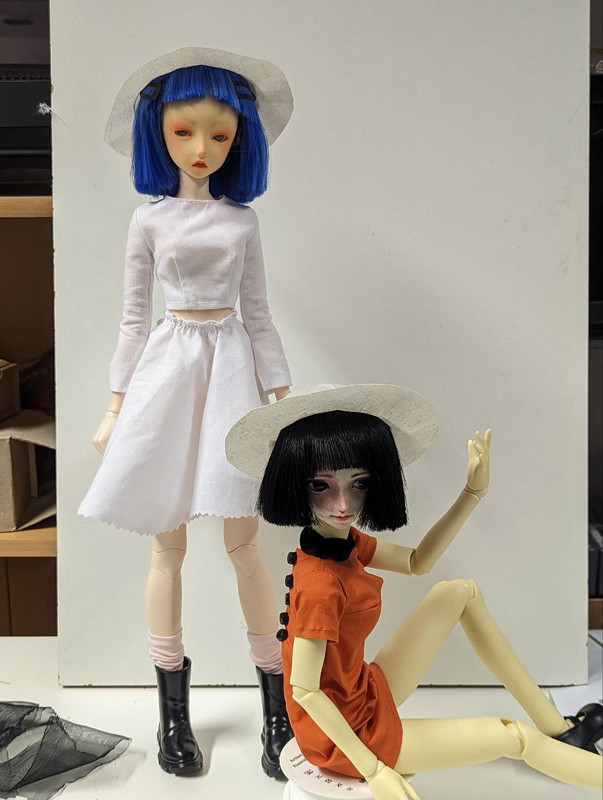
Given that I had a choice between 6cm diameter and 8cm diameter balls to use, I chose the latter (the hat near the shoes). It's a little too big but it was nice to see how much better the finish is. Hopefully, I'll be able to source a 7cm ball at some point, I think that would be perfect. The upper one is another version stretched on top of her head/wig.
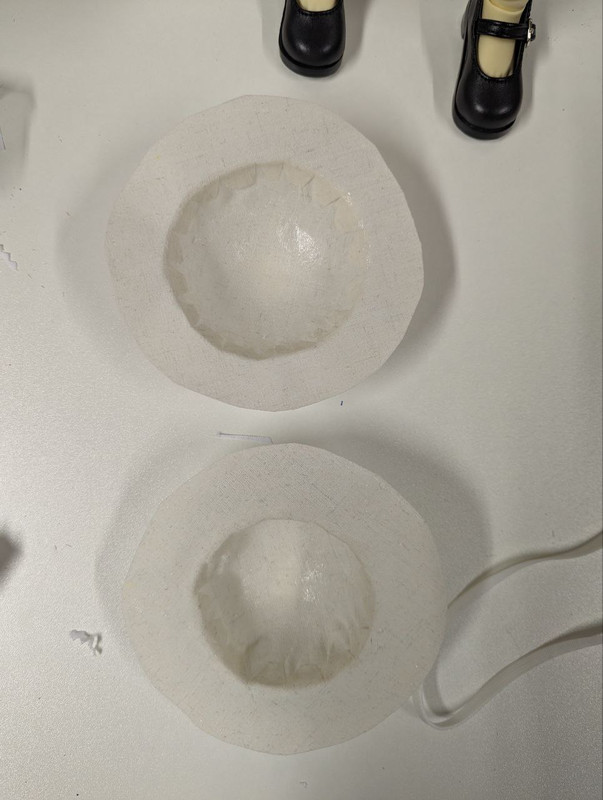
I cut the tabs into the rim part this time which resulted in a much better finish, although it was also much harder to get it glued.
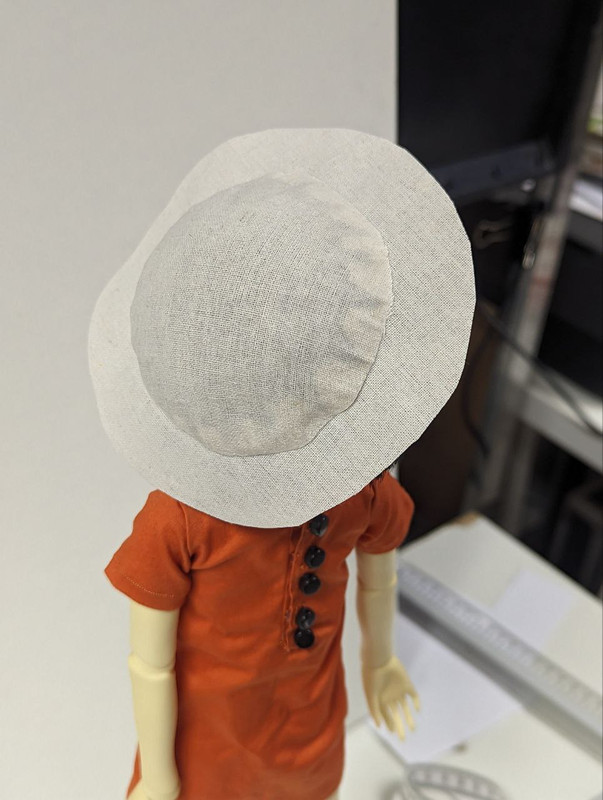
Her dress is closed by 3 plastic snaps - unfortunate, as it's not such a fun option! I used some beads to fake little buttons.
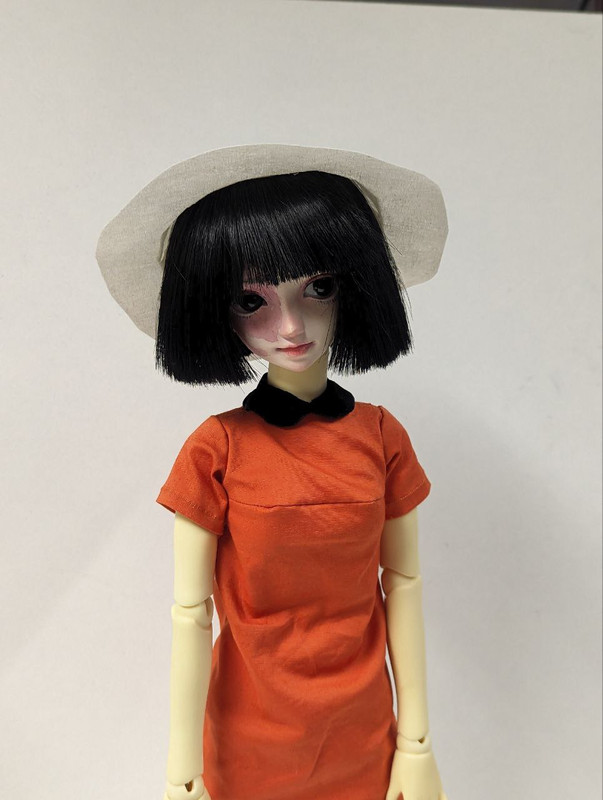
The styro ball hat worn. I had my fan on and it kept blowing the hat off her head.
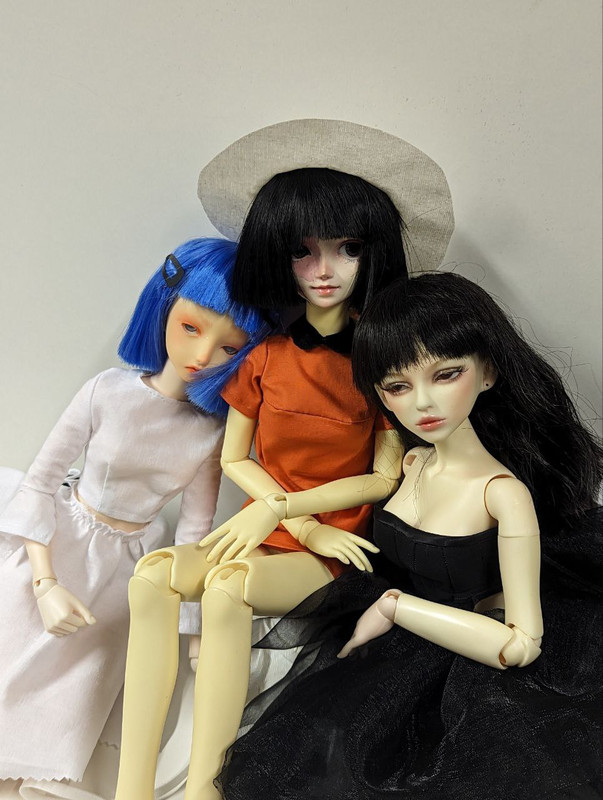
bonus group pics
Back to top